SocialMagick works by manipulating image data to generate OpenGraph images. PHP is a language which is primarily made to manipulate text and numbers. For PHP to manipulate image data it needs an extension designed for that installed and enabled.
The two extensions PHP can use to manipulate image date are imagick and gd.
The gd extension integrates the venerable GD library with PHP. This is one of the oldest continuously developed image data manipulation libraries, first created in 1987. However, it is also the most limited of the two. It's slower. It does not support colour profiles, leading to images rendered with colors which appear to be either washed out or with too much contrast compared to what your browser renders, especially when your image source is digital photos. It does not support SVG files; it can only manage raster (bitmap) files. It also produces much more pronounced compression artifacts, while generating larger files.
The imagick extension integrates the ImageMagick library with PHP. ImageMagick is a slightly newer library, starting development in 1990. It is fast. It supports colour profiles, resulting in colour-accurate results. It supports SVG files just fine; it automatically converts them to a bitmap format using the image size encoded in the SVG file. It produces smaller files, with less visible compression artifacts.
In this section you will find out how to tell which extension you have enabled, and how you can get imagick enabled if you currently have neither extension enabled.
It is very important for you to remember that there is not one PHP installation or configuration on your server.
Your host may have multiple PHP versions made available to you. It is possible to have a different PHP version enabled for the administrator backend of your site than you have in your frontend. For this reason, you are going to check the PHP version, and its configuration, on both the frontend and the backend of the site. In both cases, we're going to get the detailed PHP information – what to look for is explained further below.
The backend of your site
Log into your site's
administratoras a Super User.From the sidebar, go to .
Under the Information heading click on System Information.
Click on the PHP Information tab.
If you have imagick installed and enabled you will see an imagick section like the following screenshot.

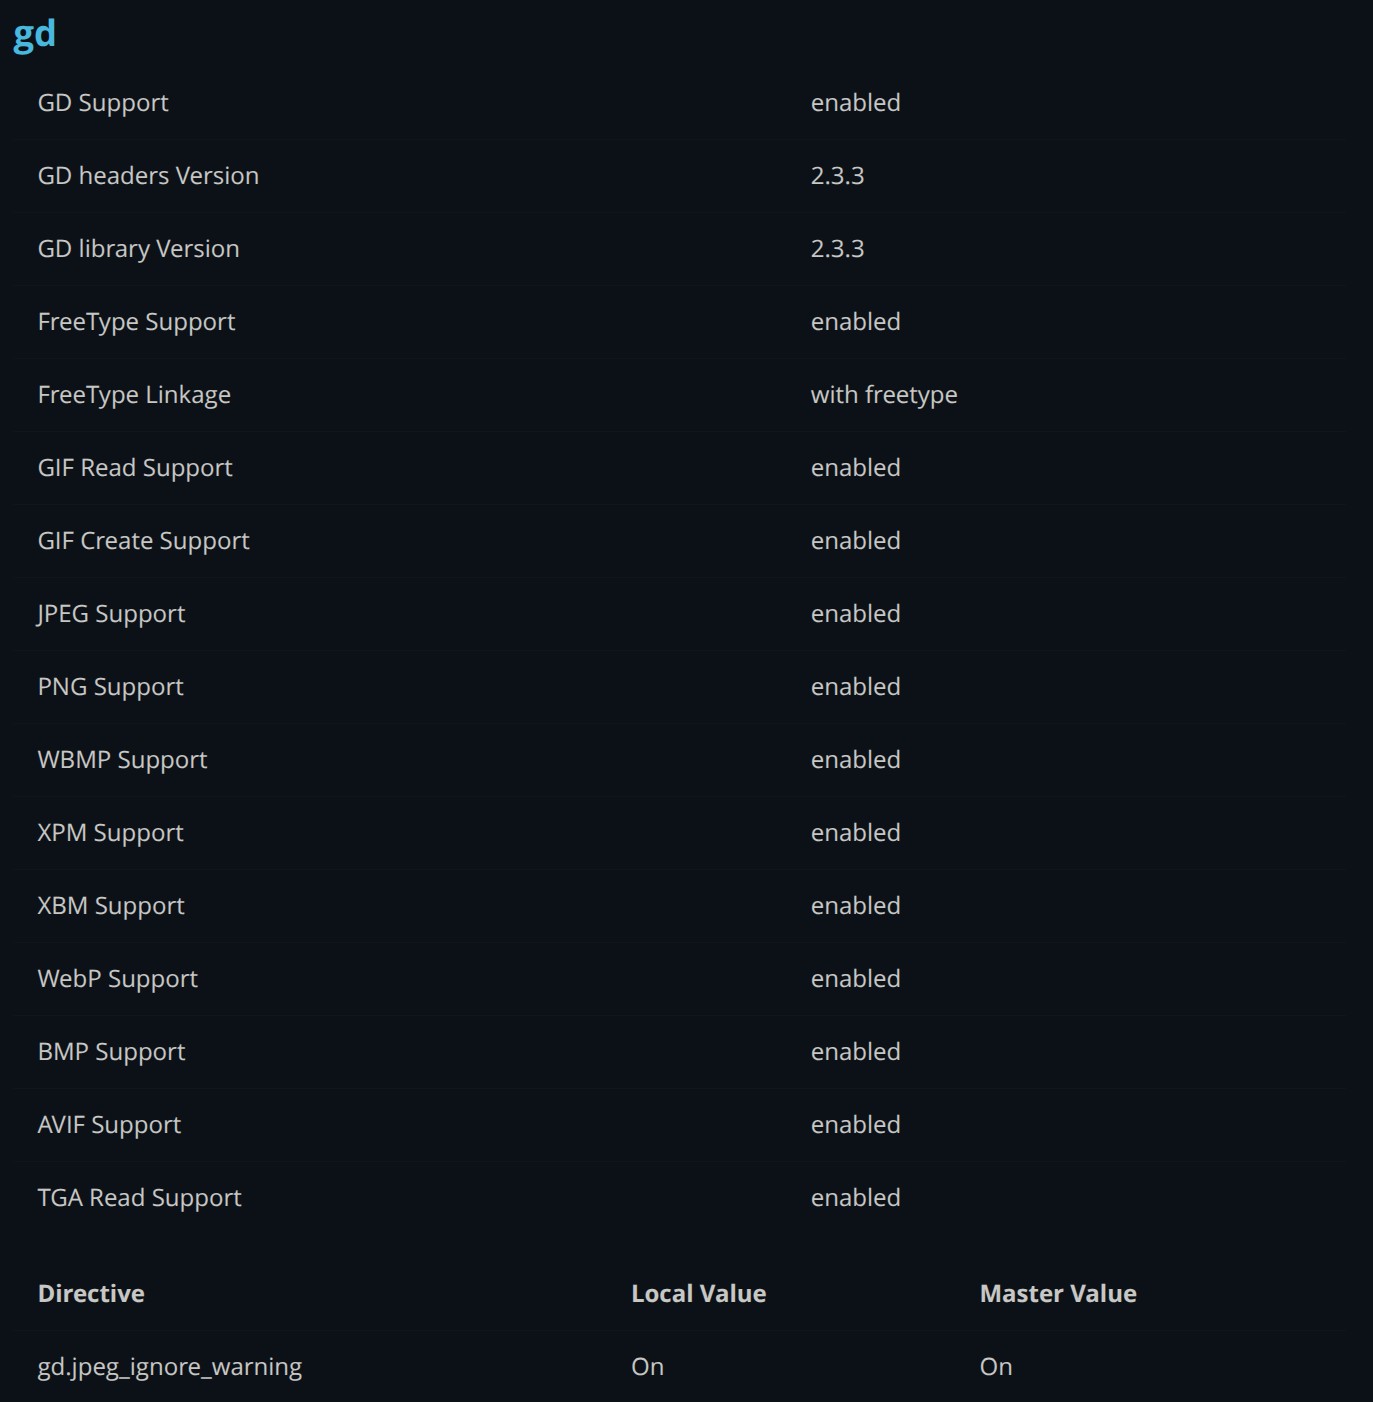
Likewise, if you have gd installed and enabled you will see a gd section like the following screenshot.
The frontend of your site.
Create a new file on your computer named phpinfo.php. Edit it with a plain text editor such as Notepad and set its contents to:
<?php phpinfo();
Upload it to your site's root, next to Joomla's index.php file. You can use your hosting control panel's file manager, FTP, SFTP, or whichever option you prefer.
Note
If you are using Admin Tools Professional's .htaccess Maker you will have to go to your site's backend, Components, Admin Tools for Joomla, .htaccess Maker and add a new row under Allow direct access to these files. Set its value to phpinfo.php and click on .
Now visit the /phpinfo.php URL of your site. For example, if your site lives in https://www.example.com you need to visit https://www.example.com/phpinfo.php. Likewise, if your site lives in http://localhost/mysite you need to visit http://localhost/mysite/phpinfo.php.
Look for the same imagick or gd sections.
When you need to do something
You need to do something in any of the following cases:
There is no image extension in either the backend or the frontend.
The image extension available in the backend and frontend are different.
A different PHP version is listed at the very top of the backend and frontend pages.
In those cases, please look at the next section.